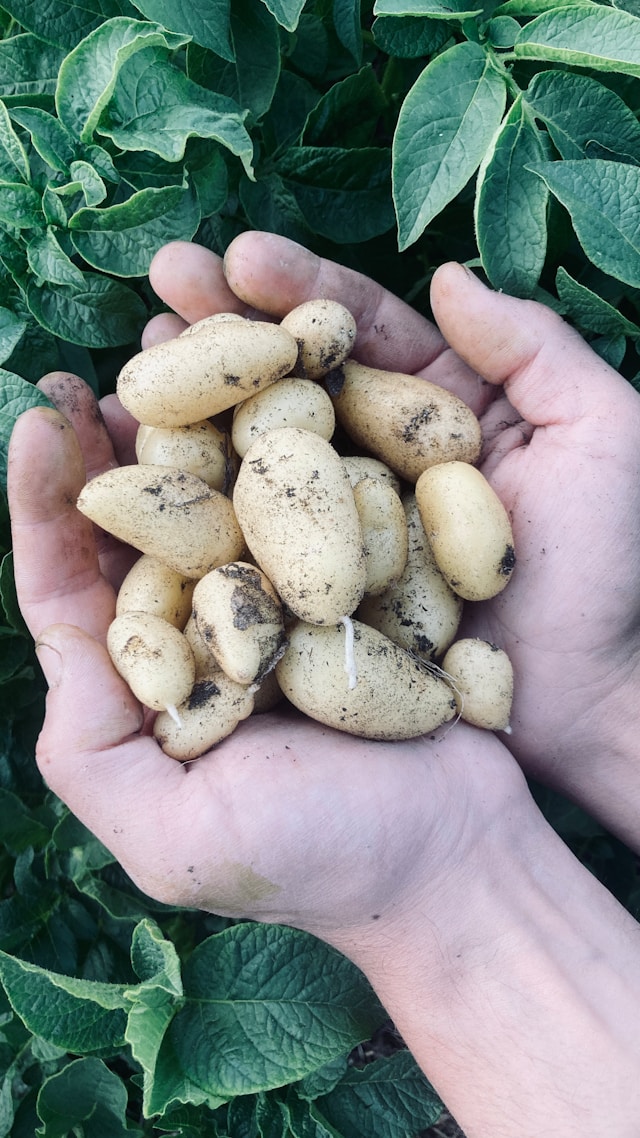
Potatoes are one of the most versatile and widely consumed vegetables worldwide, and have been a staple in human diets for centuries.
Learning how to grow potatoes from seed potatoes is very rewarding, but some people are unsure how to start.
In this comprehensive guide, we will cover everything you need to know about growing potatoes, from selecting seed potatoes to planting, caring for, and harvesting your crop.
Make sure to source good quality seed potatoes from a garden centre or supplier. Select your chosen type (first early, second early or main crop) and variety. Check their condition and prepare your soil. Chit your potatoes by leaving them to develop sprouts. Plant them 5 inches deep and earth up the soil to create a mound. Keep watered and harvest when ready.
Selecting Seed Potatoes
The foundation of a successful potato harvest begins with choosing high-quality seed potatoes.
Seed potatoes are specially grown tubers that serve as the starting point for potato plants.
When selecting seed potatoes, there are several factors to consider:
Where To Source Seed Potatoes
- Seed potatoes can be purchased from garden centres, nurseries, or online suppliers.
- It’s essential to choose a reputable source to ensure the quality and health of the seed potatoes.
Variety
- There are countless potato varieties available, each with its own unique characteristics in terms of flavour, texture, and suitability for different growing conditions.
- Some popular varieties include Pink Fir Apples, Charlottes, Wilja, Ulster Prince, Arran Pilot, and Red Duke of York, each offering distinct flavours and culinary uses.
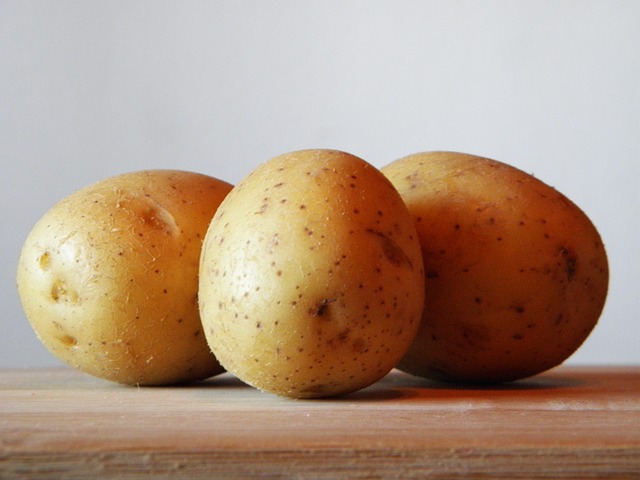
These are all available at the garden centre I work at so let’s have a look at their qualities:
Pink Fir Apples: Known for their waxy texture and nutty flavour, Pink Fir Apples are excellent for salads and boiling. The tubers are long rather than round.
Charlottes: These potatoes have a firm, waxy texture and are well-suited for boiling, steaming, or using in salads.
Wilja: Wilja potatoes are versatile and suitable for boiling, mashing, or roasting, with a creamy texture and earthy flavour.
Ulster Prince: With a floury texture, Ulster Prince potatoes are ideal for baking, frying, or making mashed potatoes. Where I live is very sandy ground and this potato seems to do very well here.
Arran Pilot: This early variety is prized for its delicious flavour and is perfect for boiling, steaming, or using in salads.
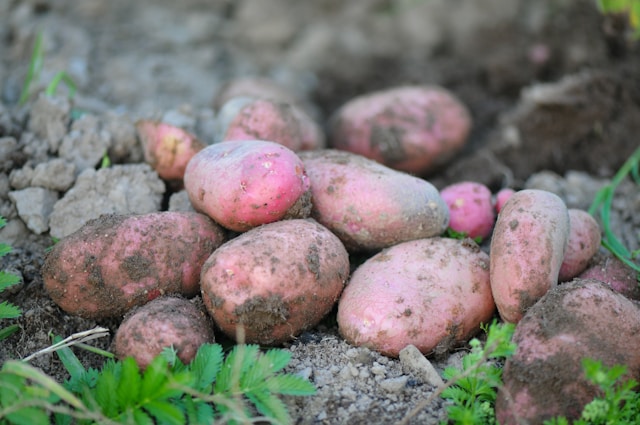
Red Duke of York: These potatoes have a vibrant red skin and a firm texture, making them suitable for boiling, roasting, or mashing.
Disease Resistance
- Look for seed potatoes that are certified disease-free or resistant to common potato diseases such as blight, scab, and virus infections.
Size and Condition
- Choose seed potatoes that are firm, free from cuts, splits, bruises, or sprouts, and approximately golf ball-sized.
- Larger tubers can be cut into pieces for planting.
Understanding Potato Types: First Earlies, Second Earlies, and Main Crop
Potatoes are categorized into three main types based on their harvesting time:
First Earlies
- First early potatoes are typically ready for harvest approximately 10-12 weeks after planting.
- These varieties are quick to mature and are usually planted in early spring for an early summer harvest.
- First earlies are often smaller in size and have a waxy texture, making them perfect for salads or boiling.
Second Earlies
- Second early potatoes mature slightly later than first earlies, usually around 13-15 weeks after planting.
- They are planted in spring and harvested in mid to late summer.
- Second earlies are slightly larger in size and can be used for boiling, roasting, or mashing.
Main Crop
- Main crop potatoes take the longest to mature, typically around 15-20 weeks after planting.
- They are planted in spring and harvested in late summer or early autumn.
- Main crop varieties produce larger tubers and are suitable for baking, frying, or storing for long periods.
A Step-By-Step Guide To Planting Potatoes
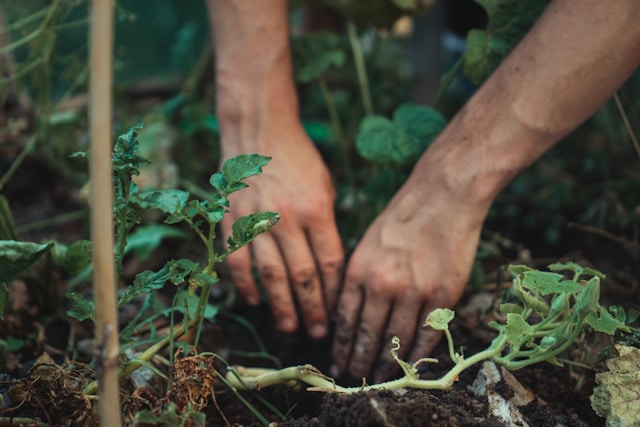
Now that you’ve selected your seed potatoes and understand the different types, it’s time to plant them.
Step 1: Preparation
- Choose a sunny, well-drained location ready for planting your potatoes.
- Prepare the soil by digging in plenty of organic matter, such as compost or well-rotted manure, to improve soil structure and fertility.
Step 2: Chitting
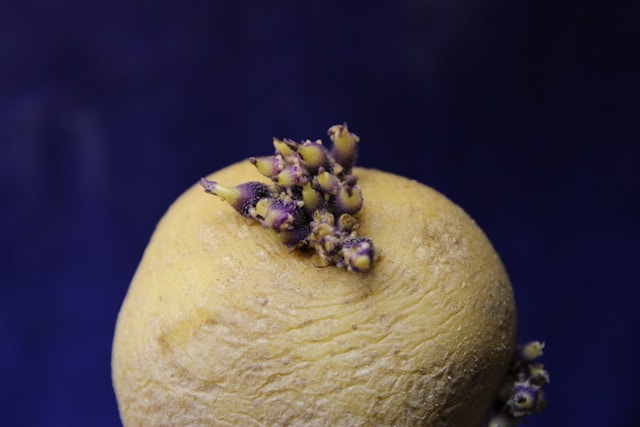
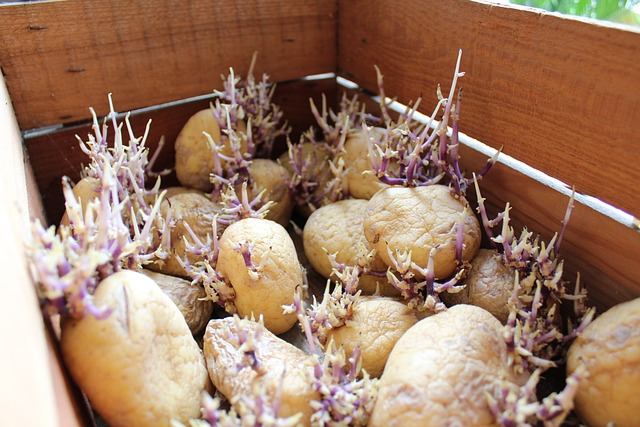
- Before planting, it’s beneficial to chit your seed potatoes.
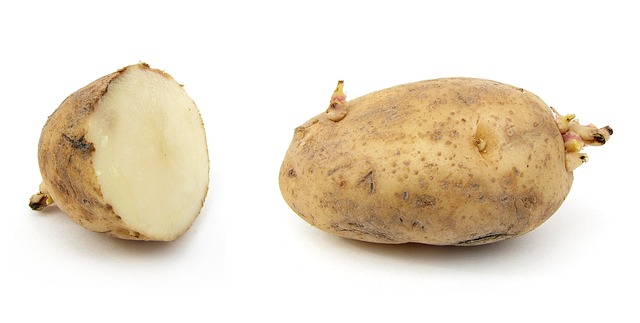
- Chitting involves placing the potatoes in a cool, light location for a few weeks to encourage sprouting.
- This step is optional but can help to get your plants off to a quicker start.
- Before planting, cut the sprouted potatoes into pieces, ensuring each piece has at least one eye or sprout. Allow the cut pieces to air dry for a day or two to form a protective layer before planting them in well-prepared soil.
Step 3: Planting
- Dig a trench or individual holes approximately 4-6 inches deep and 12-15 inches apart.
- Place the seed potatoes with the sprouts facing upwards and cover them with soil, leaving a slight mound above the surface.
Step 4: Earthing Up
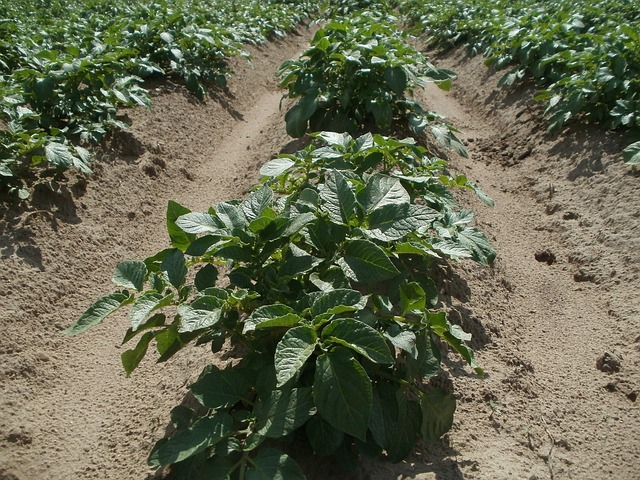
- As the potato plants grow, gradually mound soil around the stems to cover the tubers.
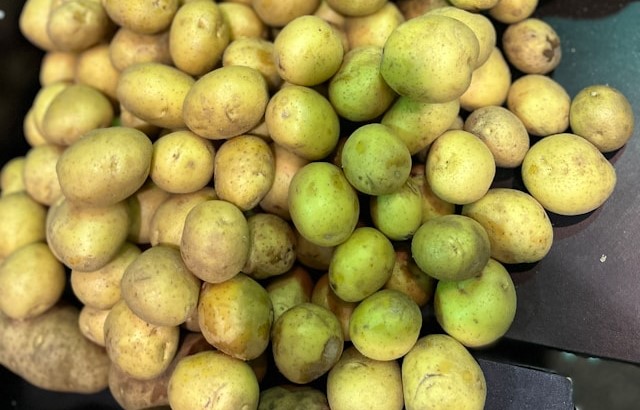
- This process, known as earthing up, helps to protect the developing potatoes from sunlight, which can cause them to turn green and become toxic. Never eat green potatoes.
Step 5: Watering and Maintenance
- Keep the potato plants well-watered, especially during dry spells, and remove any weeds that compete for nutrients and water.
- Monitor the plants for signs of pests or diseases and take appropriate action if necessary.
Common Problems and Solutions
While growing potatoes can be relatively straightforward, there are several common problems that you may encounter:
Potato Blight
- Blight is a fungal disease that can devastate potato crops, especially during warm, humid weather.
- To prevent blight, avoid planting susceptible varieties, practice crop rotation, and remove infected foliage promptly.
Potato Scab
- Scab is a bacterial disease that causes rough, scaly patches on potato skins.
- To reduce the risk of scab, maintain optimal soil pH levels, avoid planting in acidic soils, and ensure consistent soil moisture levels.
Pest Infestations
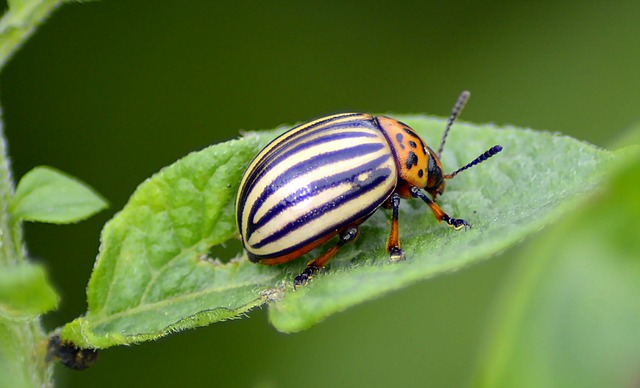
- Potato plants are susceptible to attack from various pests, including potato beetles (pictured below), aphids, and wireworms.
- Monitor plants regularly for signs of pest damage and use organic or chemical controls as needed.
Poor Yield
- Several factors can contribute to poor potato yields, including inadequate soil fertility, overcrowding, and improper watering.
- To maximise yields, provide sufficient nutrients, space plants adequately, and ensure consistent moisture levels throughout the growing season.
Frequently Asked Questions About Growing Potatoes from Seed Potatoes
Let’s review some common FAQ’s about growing potatoes:
Question 1: “Can I grow potatoes from store-bought potatoes that have sprouted?”
- Yes, you can grow potatoes from store-bought potatoes that have sprouted. When potatoes sprout, it indicates that they are ready to grow.
- However, it’s essential to choose the right type of potato for planting.
- While most store-bought potatoes are treated with chemicals to inhibit sprouting, some varieties are suitable for planting.
- Certainly have a go, but for the best results we would recommend choosing a seed potato from a reputable supplier or garden centre so you know the variety and whether it will be suitable for your situation.
- These seed potatoes are free from chemical treatments and diseases, ensuring a higher success rate for your potato crop.
- Additionally, using certified seed potatoes allows you to choose from a wide range of varieties suited to your taste preferences and growing conditions.
Question 2: “Can I grow potatoes in containers?”
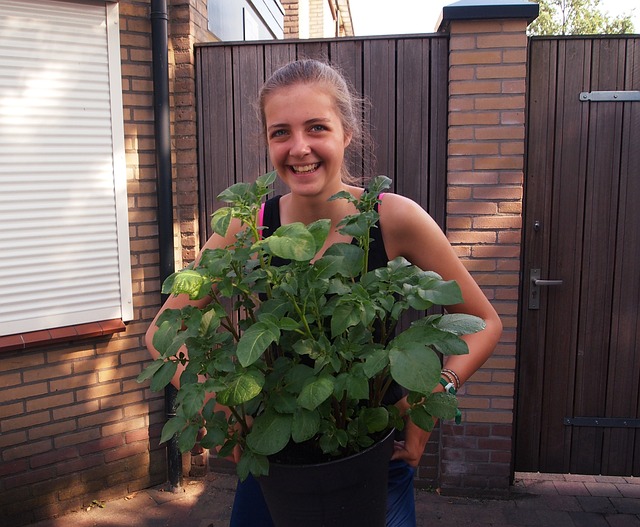
- Yes, you can grow potatoes in containers, making them a great option for gardeners with limited space or poor soil conditions.
- Container gardening offers several advantages for growing potatoes, including better control over soil quality, moisture levels, and pest management.
- To grow potatoes in containers, choose large, sturdy containers with drainage holes to prevent waterlogging.
- Half-barrels, large plastic pots, or fabric grow bags are suitable options for growing potatoes.
- Fill the containers with a well-draining, nutrient-rich potting mix, leaving enough space at the top for hilling or earthing up the plants as they grow.
- Plant seed potatoes in the containers, spacing them evenly and covering them with a few inches of soil.
- As the plants grow, gradually add more soil or mulch to cover the stems, leaving only the top leaves exposed.
- This process encourages the development of more tubers along the buried stems and prevents them from turning green.
- Container-grown potatoes require regular watering to keep the soil evenly moist but not waterlogged. Additionally, fertilise the plants with a balanced fertiliser or organic compost every few weeks to promote healthy growth and higher yields.
- With proper care and maintenance, container-grown potatoes can produce a great results, and you can just tip them out when you are ready to harvest.
Question 3: “How do I know when to harvest potatoes?”
- Knowing when to harvest potatoes is crucial for obtaining the best flavour and texture from your crop.
- The timing of potato harvest depends on the variety and growing conditions, but there are several signs to look for to determine when potatoes are ready to harvest.
- For first early potatoes, you can start harvesting when the plants begin to flower, usually around 10-12 weeks after planting.
- Simply dig around the base of the plant and gently lift the tubers from the soil. First earlies are typically small in size and have thin, delicate skins.
- Second early and main crop potatoes are ready for harvest when the plants start to yellow and die back, indicating that the tubers have reached maturity.
- Wait until the foliage has completely died back before harvesting to ensure that the tubers have fully developed.
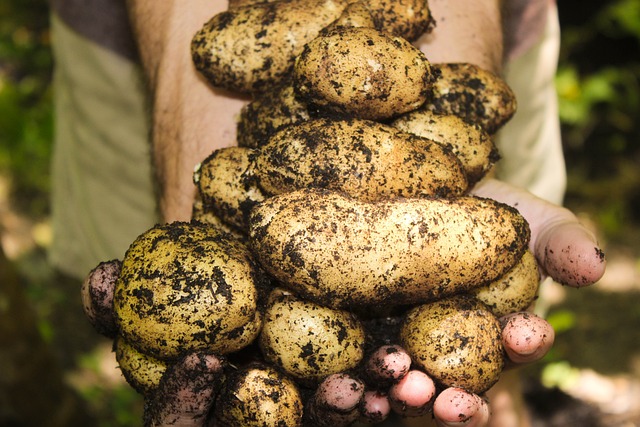
- Use a garden fork or shovel to carefully dig up the potatoes, being careful not to damage the tubers.
- Once harvested, allow the potatoes to cure in a cool, dark place for a few days to toughen up their skins and improve storage quality.
- After curing, brush off any excess soil and store the potatoes in a cool, dry location away from direct sunlight.
Question 4: “How can I prevent common potato pests and diseases?”
Preventing common potato pests and diseases is essential for maintaining a healthy and productive potato crop. Several proactive measures can help minimize the risk of infestations and infections:
- Practice crop rotation: Rotate potato crops with other non-related crops to break the life cycle of pests and diseases.
- Use certified seed potatoes: Plant certified disease-free seed potatoes from reputable suppliers to reduce the risk of introducing pathogens to your garden.
- Monitor for signs of pests and diseases: Regularly inspect potato plants for symptoms of pest damage, such as chewed leaves or holes, and signs of disease, such as wilting or discoloration.
- Implement cultural controls: Practice good garden hygiene by removing plant debris and weeds that can harbour pests and diseases. Additionally, avoid overwatering and overcrowding plants, as damp, crowded conditions can promote fungal infections.
- Consider organic or chemical controls: Use biological controls, such as beneficial insects or microbial sprays, to manage pest populations naturally. If pest or disease pressure is severe, consider using chemical controls as a last resort, following label instructions carefully to minimize environmental impact.
By incorporating these preventive measures into your potato growing practices, you can effectively manage pests and diseases and enjoy a healthy, thriving potato crop.
Final Thoughts
Growing potatoes from seed potatoes is a rewarding and enjoyable gardening activity that can provide you with a decent harvest of fresh and tasty carbs.
By selecting high-quality seed potatoes, understanding the different varieties and types, and following proper planting and care practices, you can enjoy a successful potato harvest year after year.
Remember to monitor your plants for signs of pests or diseases and take proactive measures to protect your crop.
With a little effort and attention to detail, you’ll be enjoying homegrown potatoes in no time!
You can even experiment with purple potatoes!


