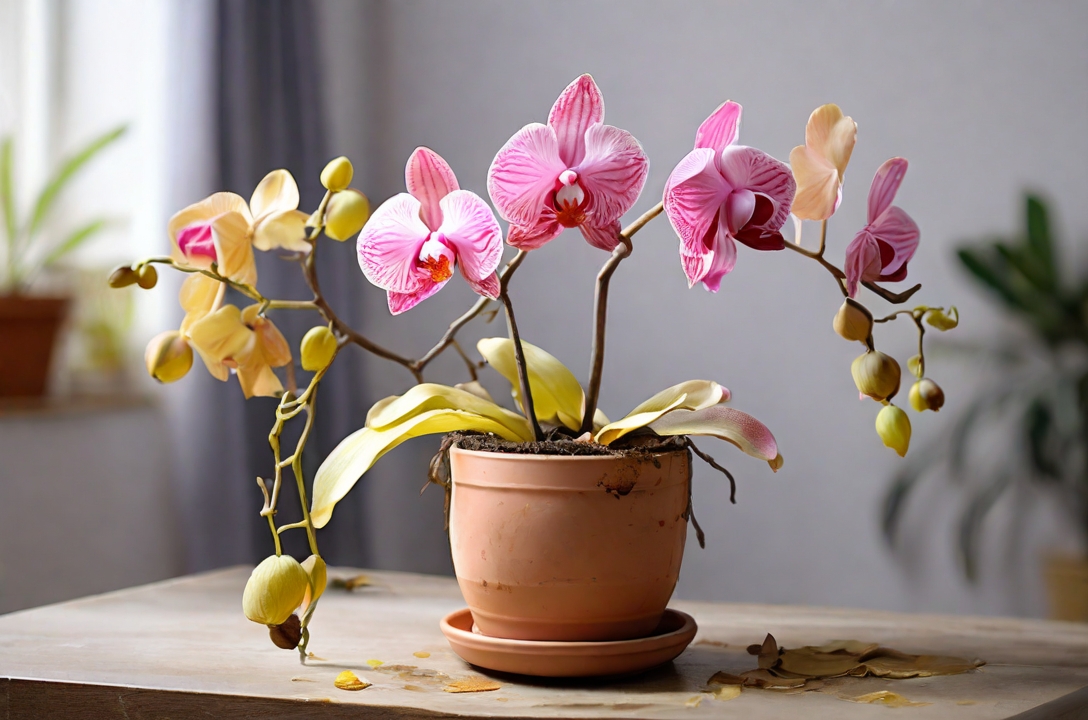
Orchids have a unique charm, and are often considered delicate plants that require specific care.
Both first-time orchid owners and experienced growers can sometimes have an orchid that is struggling or appears to be on the verge of decline.
The good news is that with the right knowledge and attention, it’s often very possible to revive a dying orchid and bring it back to full health.
In this comprehensive guide, we’ll explore the common reasons behind orchid decline and show you how to revive a dying orchid.
Firstly determine the likely reason for the orchid’s decline. This could be incorrect watering, nutrients, temperature or humidity, or inadequate drainage or light. The roots may be compacted and there may be pests or disease present. Once determined, isolate the orchid and address the issue. Then give it time to recover.
Why Is My Orchid Dying?
Before we look at revival strategies, it’s important to understand the possible reasons behind a dying orchid.
Several factors can contribute to an orchid’s decline, and identifying the specific issue will guide the best course of action.
Common reasons for orchid decline include:
Improper Watering
- Orchids are sensitive to both overwatering and underwatering.
- The roots of orchids need a balance between moisture and air.
- Overwatering can lead to root rot, while underwatering can cause dehydration and damage to the roots.
How Do I Know If My Orchid Needs Water? Look at the roots. If the roots are bright green then the orchid has enough water. If the roots are silvery grey then the orchid needs water.

Poor Drainage
- Orchids are epiphytes, meaning they naturally grow on trees and rocks rather than in soil.
- They require a well-draining medium to prevent waterlogged roots.
- Compacted, decomposing or poor-quality potting mix can stop drainage, leading to root suffocation.
- This can cause the leaves and flowers to fail.
Inadequate Light
- Orchids need the right amount of light to thrive.
- Too much direct sunlight can scorch the leaves, while insufficient light can result in weak, leggy growth and a lack of flowering.
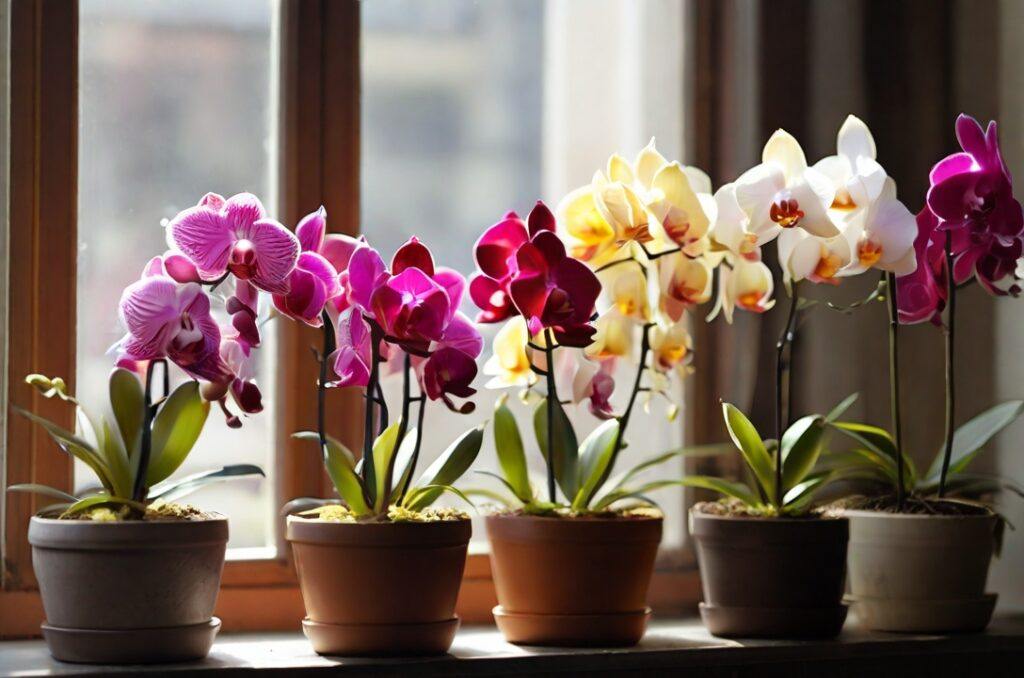
Incorrect Temperature And Humidity
- Orchids typically have specific temperature and humidity requirements.
- Sudden temperature changes or consistently low humidity levels can stress the plant, affecting its overall health.
- This can be caused by constantly moving the orchid to different locations, or placing it in a draft.
Pot-Bound Roots
- Orchids need space for their roots to grow and expand.
- If the orchid has outgrown its pot, the roots may become crowded, leading to poor air circulation and nutrient uptake.
Nutrient Deficiency Or Excess
- Orchids have specific nutritional needs.
- A lack of essential nutrients or too much fertiliser can both negatively affect orchid health.
Pests and Diseases
- Common pests like aphids, mealybugs, or spider mites can infest orchids, causing damage to leaves and compromising overall health.
- Fungal and bacterial infections can also affect orchids.
How To Revive A Dying Orchid: Step-by-Step Guide
Step 1 – Assess The Orchid’s Condition
- Examine the leaves, flowers, roots, and overall appearance of the orchid.
- Leaves should be firm and glossy.
- Look for signs of pests, diseases, yellowing or browning of leaves, and the general state of the roots.
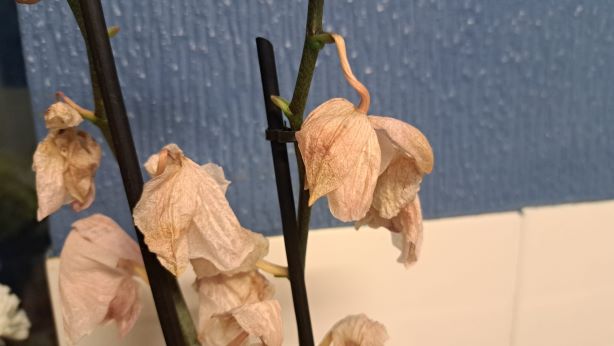
- If the flowers have started to dry up and fall off but the stem is still green, you can try gently snipping off the flowers. This may encourage more flowers to form.
Step 2 – Isolate The Orchid
- If the orchid shows signs of pests or diseases, isolate it from other plants to prevent the spread of the issue.
- Look for mouldy patches or insect activity.
Step 3 – Evaluate Watering Practices
- Determine if the orchid has been overwatered or underwatered.
- Are the roots or medium wet?
- Does the pot feel very heavy or very light?
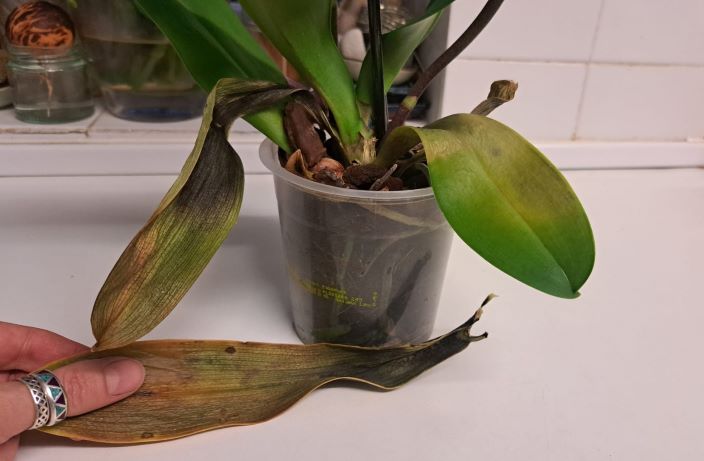
- Yellowing leaves and fungus build up can be a sign of overwatering.
- Leaves that look thin, dry and wrinkled can be a sign of underwatering.
- Adjust the watering schedule based on the specific needs of the orchid.
How To Correctly Water An Orchid: When watering, do not water from the top as this will leave moisture on the leaves and against the stems, which leads to rot. Instead, using tepid rainwater if possible, submerge the pot up to the level of the bark, making sure not to go above the leaf level. Leave the orchid for 10 minutes and then take out and allow to drain fully.
Step 4 – Check The Potting Medium And Repot if Necessary
- Examine the potting mix for compaction or deterioration.
- Older orchid potting bark can start to decompose which means it holds more water than it should.
- Incorrect potting mix like moss is sometimes used in shops for display purposes, but will not do as a permanent substrate as it holds far too much water.
- Even coconut fibres (coir) can sometimes hold too much water if old or too densely packed.
- If the orchid is pot-bound or if the potting mix is inadequate, repot the orchid using a new well-draining orchid mix.
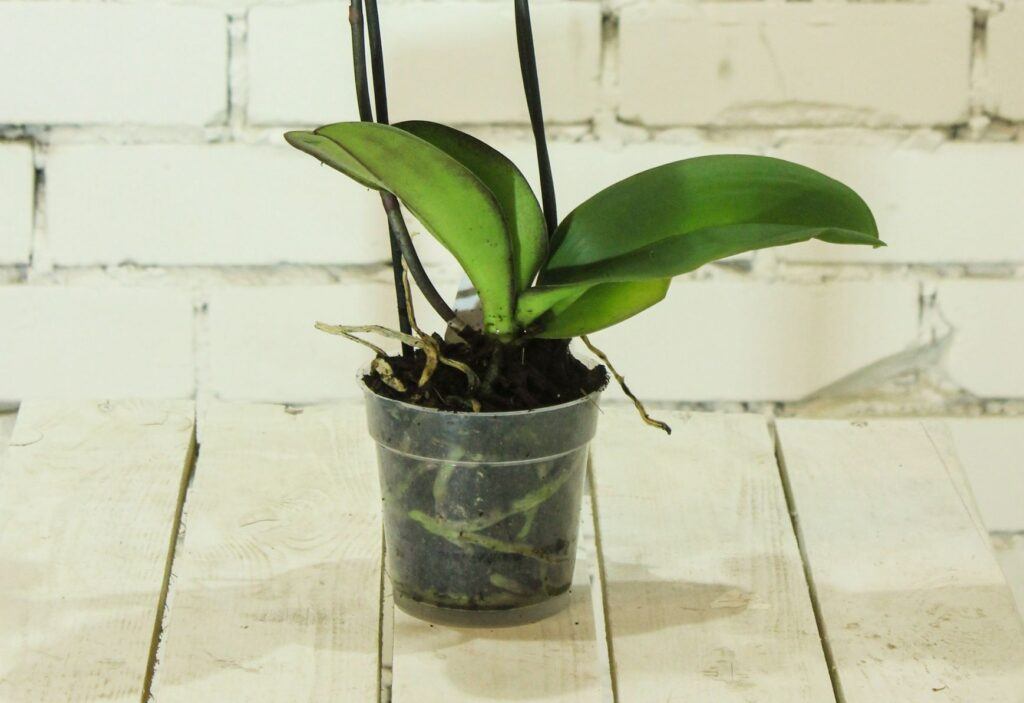
- The interior plastic pot should be a specialist clear orchid pot with lots of drainage holes and a raised centre. This can then go in a ceramic pot of your choosing.
- You can now also buy ceramic pots with holes around the perimeter for extra aeration.
Step 5 – Inspect The Roots
- Gently remove the orchid from its pot and inspect the roots.
- Healthy roots are firm and green or white.
- It is normal to see some dead roots however most should be alive and healthy.
- Some roots may be pointing upwards, again this is normal.
- Trim away any mushy or rotting roots using sterile cutting tools.
- This action will create more room and also stop the decomposing roots from holding moisture.

Step 6 – Provide Proper Light Conditions
- Ensure the orchid is receiving the right amount of light.
- Adjust the placement of the orchid to provide adequate light without exposing it to direct sunlight for extended periods.
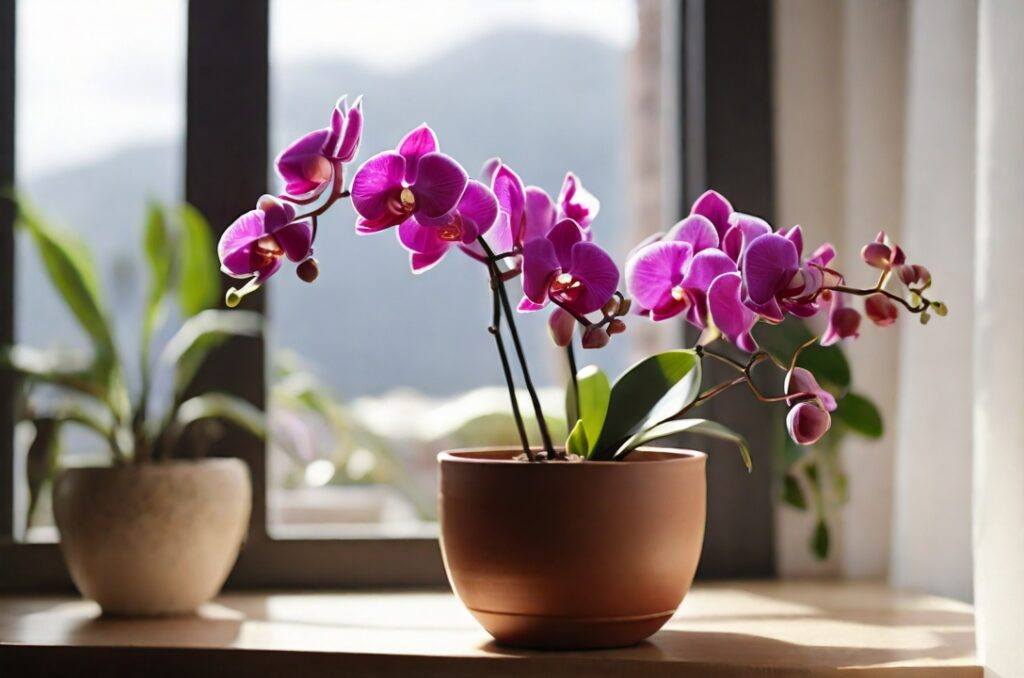
- A good option is next to a window that does not face the sun.
- That way the orchid has good light but not too much sun.
Step 7 – Maintain Optimal Temperature And Humidity
- Keep the orchid in an environment with consistent temperature and humidity levels within its preferred range.
- Once you have found a location the orchid likes, leave it there. Don’t keep moving it around.
Step 8 – Fertilise Appropriately
- Use a balanced orchid fertiliser with the correct nutrient ratio.
- Follow the recommended application frequency, and avoid over fertilising. If in doubt, leave it out.
Step 9 – Pest And Disease Management
- Treat any identified pests or diseases promptly using appropriate methods or pesticides.
- Most insects can be gently removed with a mild dish soap solution,
- If there are any rotten or yellowing leaves, stems or roots, remove them to prevent further spread.
Patience And Observation
- Orchids may take time to recover, so be patient.
- Regularly observe the plant for signs of improvement or any new issues.
Conclusion
Reviving a dying orchid requires a combination of careful observation, corrective actions, and patience.
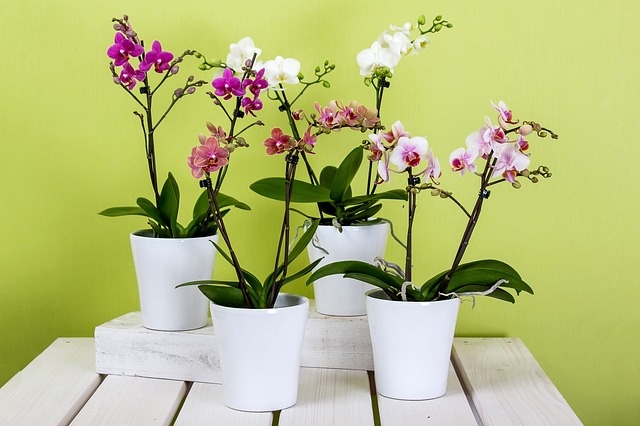
By addressing the specific issues causing the decline and providing the orchid with optimal growing conditions, it is often possible to bring the plant back to a healthy and vibrant state.
Remember that each orchid species may have different requirements, so tailor your care approach accordingly.
If you have enjoyed this article why not check out another in our series of common plant problems and solutions.

