Starting a garden can be overwhelming and it very much depends on what you have to begin with.
Some people may have a plain area of grass, others may have paving or concrete they need to remove first, or you may be lucky and you already have an existing garden that you have just arrived at, but you have no idea how to change or maintain it.
I want to help with that initial step of how to start a garden for beginners, and cover the main things to consider as you’re starting out.
Wait And See What You Have
This is an important step and may seem counter-productive, especially if you are keen to get going!
There is a good chance however, that if you are coming in to a pre-existing garden, that the previous owners have planted bulbs or tubers that may not be up yet.
Some types of plants (annuals – this will be covered in a later post) can self seed and then die back leaving no sign until the new plants begin to grow.
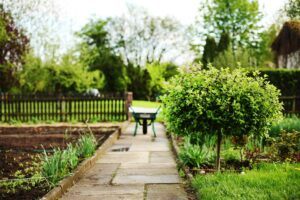
Ideally it is good to see what comes up or flowers in the spring and summer before digging up borders and potentially losing what existing plants you have.
Once they are up you can keep or move them, or even transplant them into pots temporarily meaning you will save money later on down the line when you are buying plants for your garden.
This may not be the case if you have the above-mentioned concrete or paved garden, although it can be surprising what can grow in between paving slabs, up through gravel or even on walls!
This period of observation can also be one of investigation.
The direction that your garden faces will be important not only for designing your garden, as you will no doubt want to sit where the most sun is in cooler countries, and where the most shade is in hotter countries, but this will also dictate what plants will go where.
It will also mean more watering in the areas that get a lot of sun.
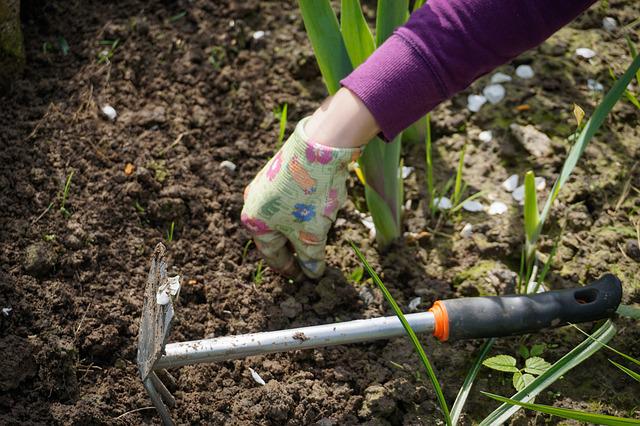
Something else to consider is the size and shape of the garden as this will influence your planting patterns, depending on what you are wanting to achieve.
Generally speaking if you have a wide garden it is good to apply design to make it look narrower, and vice versa, to gain a balanced view.
If your garden is on a slope you may want to add terraces to create level planting areas.
Another benefit of waiting and observing your existing garden to see what you have is you may find that wildlife are nesting in a particular tree or bush, so you may wish to protect that specific area.
Soil Type
This step is instrumental in understanding your garden and what will grow best there.
You can go into this pretty deeply if you want to and order a soil testing kit which will tell you the soil pH level (how acidic or alkaline) and other nutrient levels such as nitrogen, phosphorus and potash.
If you don’t want to go that far it is enough just to go and assess your soil yourself by looking at it and feeling it.
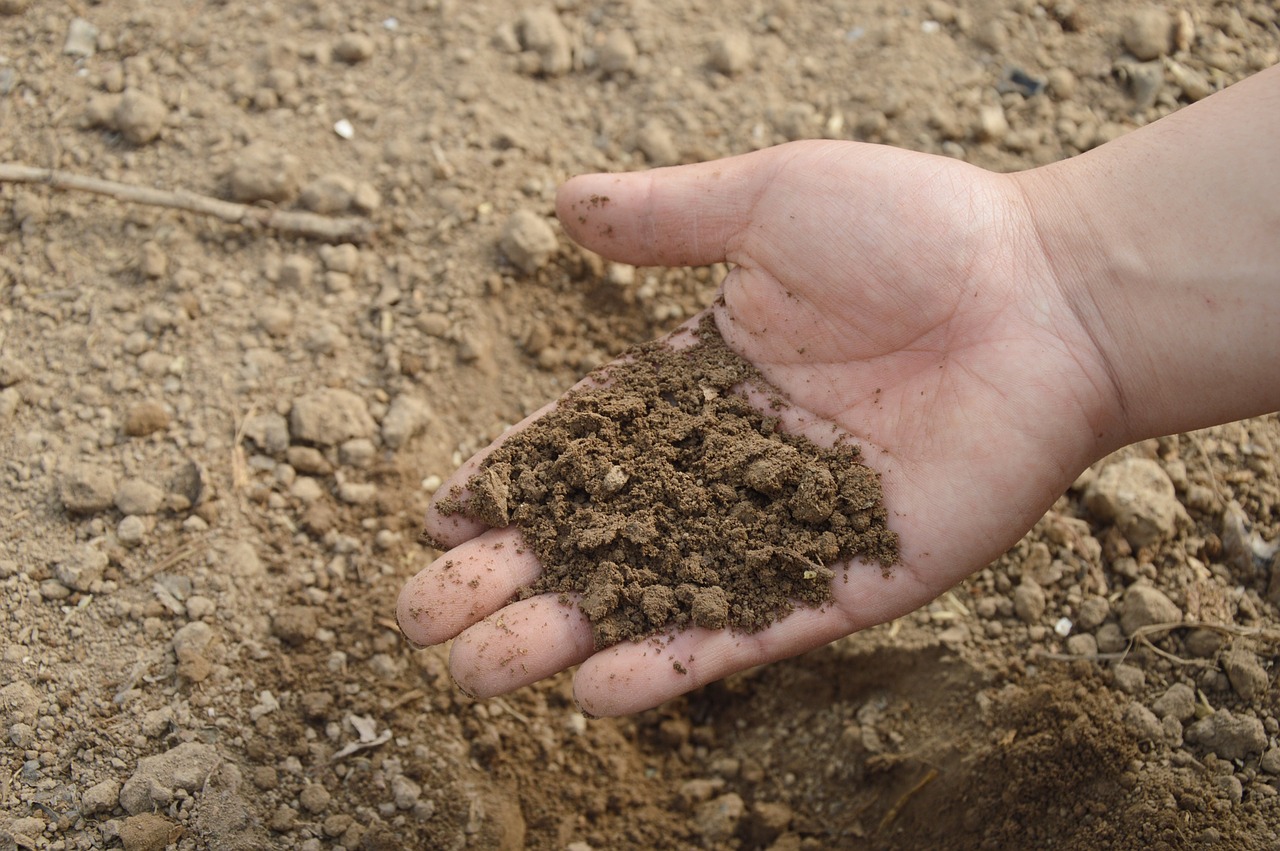
Do bear in mind that previous owners may have added compost over the years, so look at a few different areas and ideally dig a bit of a hole and see what the soil looks like a foot down.
This will likely be the true soil type.
Here is a quick rundown of the main types of soil you will come across in a standard garden, how they feel and how they look, and what plants grow best (and worst):
Clay Soil
Properties: Poor drainage, but it does hold water and nutrients well.
Acid / Alkaline: Alkaline.
Looks: Pale to brown in colour, very small particles, can be rolled into a ball.
Feels: Difficult to dig as can be dense and sticky when wet and dries hard.
Plants Suited: Iris, Echinacea, Hydrangea, Hosta, Roses, Peony.
Plants Not Suited: Salvia, Lavender, Poppies.
How to improve: Try to improve the drainage by adding grit, compost, bark or gypsum and digging through.
Chalky Soil
Properties: Shallow layers. May have chunks of white stone. Free draining.
Acid / Alkaline: Very Alkaline.
Looks: Pale to brown often with white stones.
Feels: Powdery, stony.
Plants Suited: Wildflowers, Salvia, Buddleia, Thyme.
Plants Not Suited: Vegetables, Rhododendrons, Camellias.
How to improve: Add raised beds with organic matter. Fertilise the soil.
Loamy Soil
Properties: Thought of as the perfect soil, full of nutrients, drains well and also retains moisture.
Acid / Alkaline: Can be slightly acidic to slightly alkaline.
Looks: Medium colour, mix of grains, open texture.
Feels: Good structure with decent aeration, a mixture of sand, clay and silt.
Plants Suited: Sweetcorn, berries, Tomatoes, Peppers.
Plants Not Suited: None – pretty much all plants like loam.
How to improve: Hardly any improvement needed.
Peaty Soil
Properties: High water retention.
Acid / Alkaline: Acid.
Looks: Very dark, with visible organic matter.
Feels: Spongy, moist.
Plants Suited: Hydrangea, Hosta, Heather, Camellias, Azaleas.
Plants Not Suited: Asparagus, Peas.
How to improve: May need grit or stones adding to improve drainage.
Sandy Soil
Properties: Free draining. Dries out quickly. Low nutrient levels.
Acid / Alkaline: Acid.
Looks: Pale brown to yellow in colour.
Feels: Gritty, granular, crumbly open structure.
Plants Suited: Fennel, Carrots, Broom, Buddleia, Geranium.
Plants Not Suited: Hosta, Hydrangea, Brassicas.
How to improve: Add compost to improve nutrient level and water retention.
Silty Soil
Properties: Both drains well and holds moisture, but can become waterlogged if over-watered, and compacted if stood on.
Acid / Alkaline: Can be slightly acidic to slightly alkaline.
Looks: Beige to black, fine grains.
Feels: Smooth and feels soapy, heavy, but easy to work.
Plants Suited: Willow, Birch, Hellebore, Vines, Hosta.
Plants Not Suited: Most plants should do well in silty soil but avoid plants that like “dry feet” such as succulents.
How to improve: Reasonably rich in nutrients so needs little improvement, try not to over-water.
Make A Plan
Once you have considered the existing aspects of your garden, it is then great to think about what you want to achieve with your space.
Again you can go into this step pretty extensively and look into garden design options, hard landscaping (areas of paving or walls) and have plans drawn up, but for a beginner I would recommend just trying to envisage what kind of garden you want this to be based on what will work with your climate, orientation and soil type, and what you as the user wants to experience.
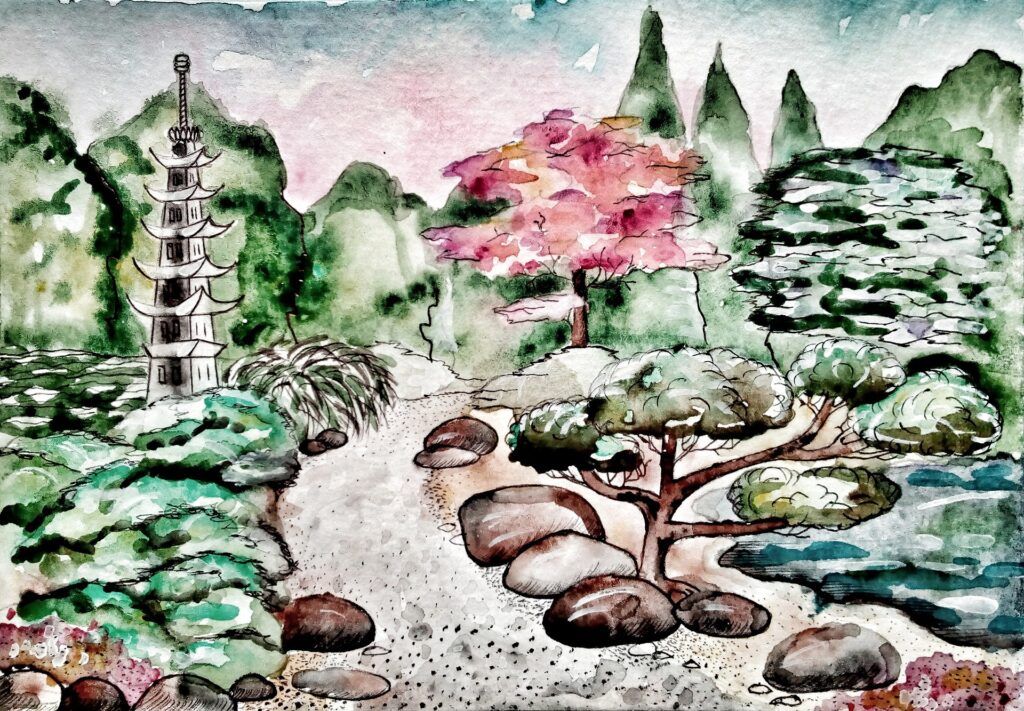
The only limit is your imagination and you can fit a lot into a small space.
It’s good to draw even a simple sketch of the garden as it is, and the garden as you want it to be so you can be organised and remember your end goal, and this makes it much easier to explain it to others that may be helping you.
Some ideas could include a Mediterranean vibe, a tropical garden, a children’s play area, a zen garden or a wildlife or container garden.
You can have several different areas if your garden is big enough.
You could pick a particular plant that you have always admired, say a tree fern or an existing fruit tree, and base your plan around that, or a particular colour scheme that you love.
Source Your Plants And Some Basic Tools, And Get Planting!
I have written source here rather than buy as it is very possible to get plants and tools for free or very discounted prices, which is great if you are working to a budget.
Join local Buy, Swap and Sell Facebook groups in your area and often people will be giving plants and other items away for free or selling on for cheap as they make changes to their own gardens, sometimes even quite large trees and shrubs can be obtained this way.
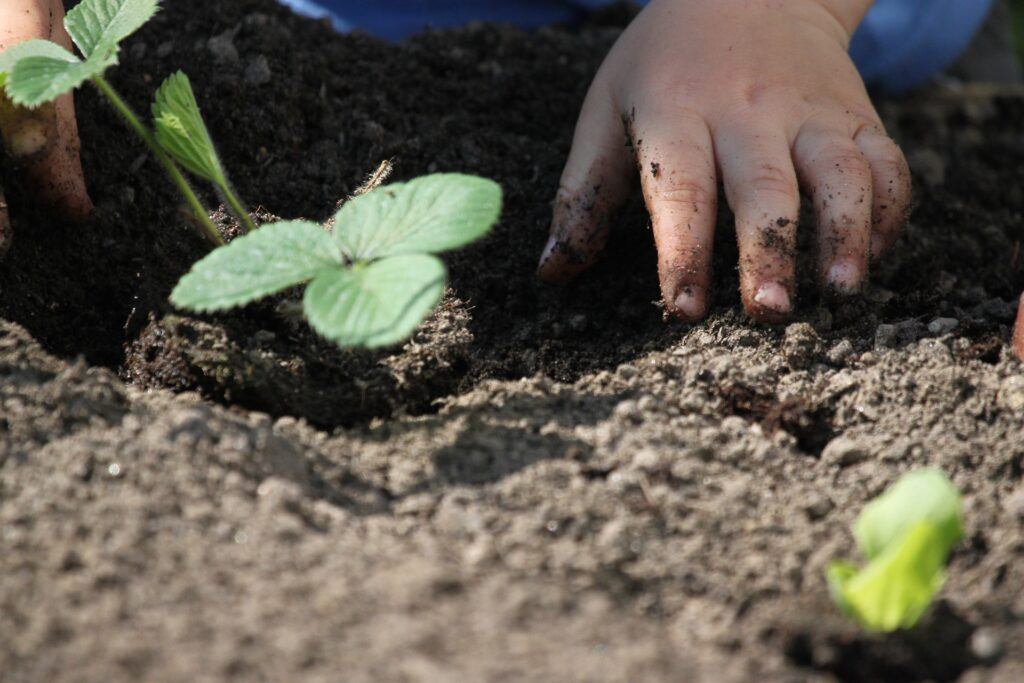
Neighbours, friends and family members can also be great sources for plant swapping, as sometimes when growing plants from seed you can end up with too many of one type of plant so you can give some away and take their excess in return.
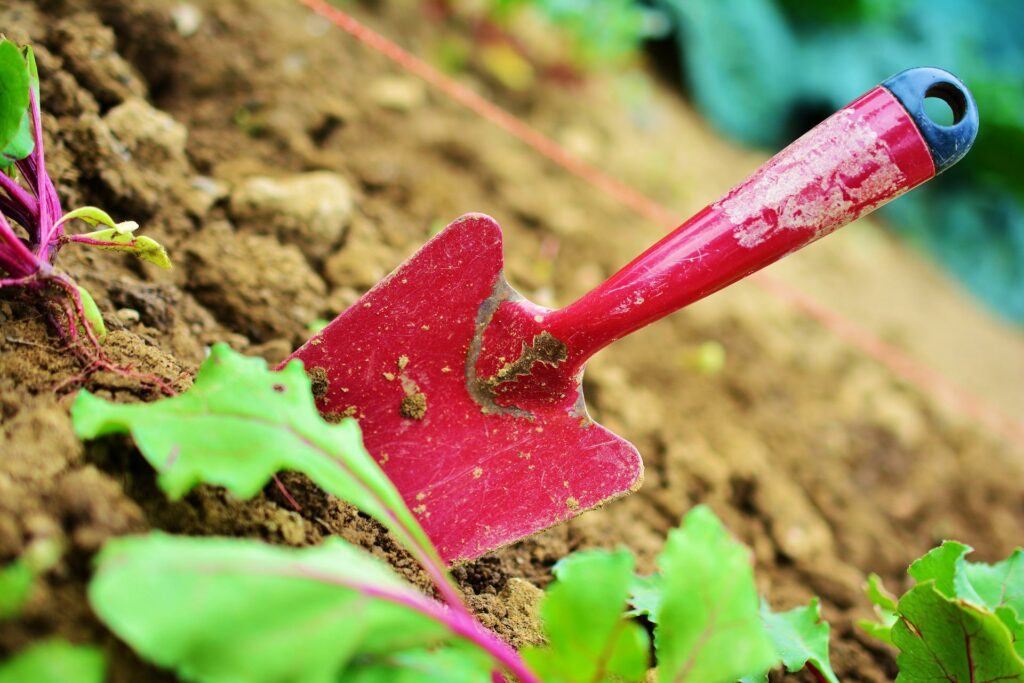
There are lots of gardening tools that are very useful in the garden, but as a beginner I would just recommend the basics – a hand trowel, a watering can, some gloves and a spade.
If you have trees that lose their leaves in the autumn then a rake is handy, and if you have a lawn then a lawnmower will be necessary.
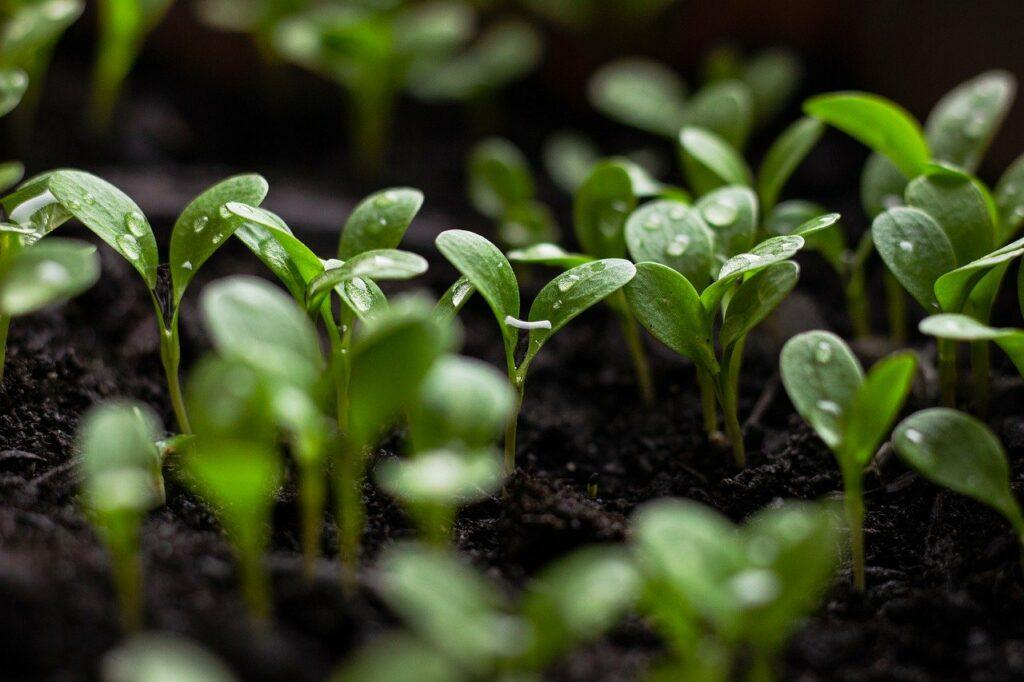
You may want to grow some plants from seed (more on this subject in a later post).
This is cheaper than buying a full plant but does take longer, so you do have to have patience.
It can be a very satisfying process and decent seeds for both flowers and vegetables are sold in supermarkets, household stores and of course online.
There will be times when you fall in love with a particular large plant in a garden centre and just have to have it, and established plants are wonderful for creating instant impact and filling a space straight away.
These are usually more expensive however, so the best advice is to read up on what you are buying, and make sure it will thrive in it’s intended location.
It’s good to position the plant where you want it while still in it’s pot so you can see how it looks, perhaps leave it there and have a cup of tea while you think about it.
Once you’re sure, give the plant a bit of a water first, dig your hole (I like to slosh a bit of water in the bottom of the hole first so I know the plant will have some to start off with) and perhaps add some compost or grit to help the plant get going, depending on your soil type.
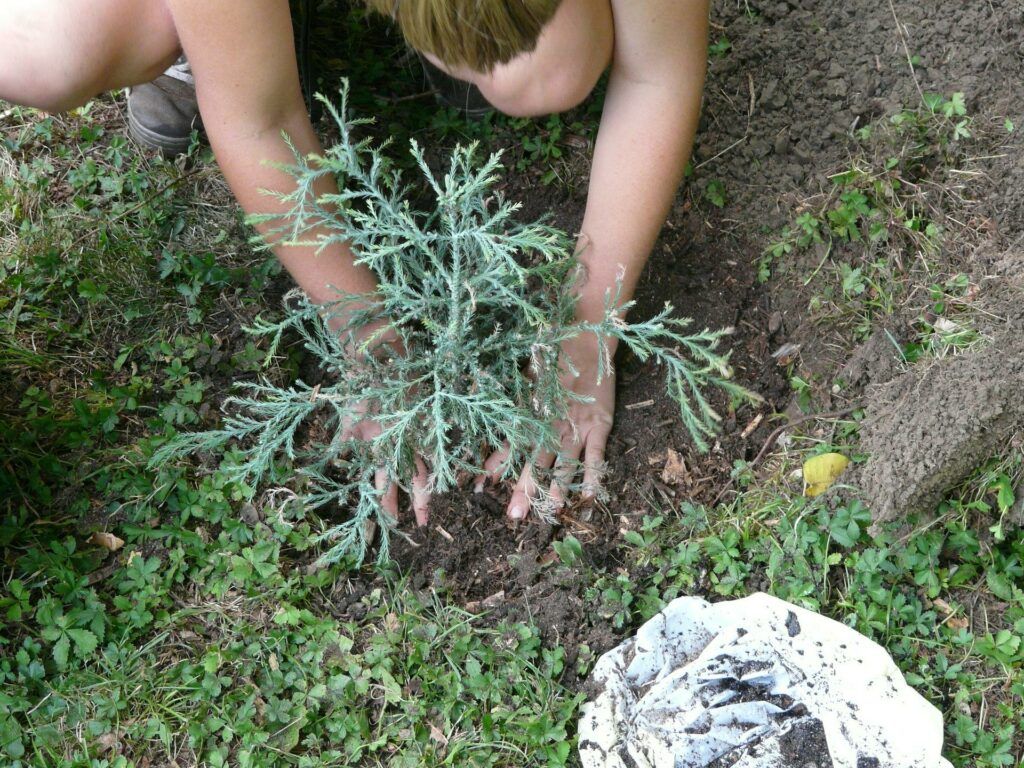
Place it in with the top of the root ball level with the soil level, firm in and give it a decent water. New plants usually need fairly frequent watering in order to get established in the ground.
And there you go!
You are on your way to creating your garden heaven.
As time goes on you will likely add, remove and shuffle about different plants until you are happy with the structure, look and feel of your garden.
If you have any questions about the basic steps when starting a garden for beginners let me know in the comments section below, I am always happy to help.
