
There is no better food than freshly cooked pizza, made outside with family and friends on a warm summer’s day.
This build can be undertaken over a few days and will become a permanent feature in your garden.
Here we look at how to build a wood fired pizza oven using reasonably priced materials that will give you fun and pleasure in the garden for years to come.
2. Tools and Materials You Will Need
3. For the Foundation and Pillar Base
4. For the Dome
5. Creating the Concrete Foundation
6. Creating the Brick Pillar Base
7. How Many Bricks are Needed to Create a Solid Cube?
8. Creating the Clay Dome
9. Tips for Cooking Pizzas in a Wood Fired Oven
Preparation and Materials Required
The sourcing of the materials needed should be done beforehand so that the build can be completed in one go over the course of a few days.
It is recommended to complete the concrete foundation about a week before adding the brick pillar, to give it time to cure.
Ideally complete this project in dry warm weather to allow the concrete, clay and mortar to dry/cure properly.
It is best to give some thought to the location of the oven as once built it will be a permanent structure.
Position it away from fences and near the area you sit to eat and socialise, ideally in full sun.

The finished pizza oven will be very heavy, so choose an area that has flat and stable ground.
It is recommended to lay a concrete foundation to support the structure adequately.
In terms of materials, much can be sourced for free using local social media sites, or bought from DIY stores.
Tools and Materials You Will Need:
- Spade
- Tarpaulin
- Spirit Level
- Water
- Bucket
For the Foundation and Pillar Base:
- Wooden plank
- 280 kg Premix Concrete (14 x 20 kg bags)
- Approximately 370 bricks (Standard red clay house brick 21.5cm x 10.25cm x 6.5 cm), this will create a solid 70cm by 70cm by 70cm cube base. The top layer will need to be smooth (no holes or recesses) for the cooking surface.
- 2 bags of ready mix mortar
For the Dome:
- 180kg clay
- 280kg Builder’s sand
- 1 bag vermiculite, available from garden centres

Creating the Concrete Foundation
A handy site for working out your concrete amounts is https://www.blocklayer.com/concrete/concrete-premix.aspx.
Scroll down to the Square or Rectangular Slab calculator.
You will want your concrete foundation slab to be 10cm deep and 20cm around the sides of your brick pillar base.
Our brick cube is 70cm cubed so the concrete foundation will need to be:
1 square slab with sides 110 cm X 110 cm, filled to a depth of 10 cm.
Dig a hole with the required dimensions and check that it’s level.
Mix the concrete with the water to the consistency advertised on the packet and fill the hole, making sure there are no air pockets.
Level the concrete with a wooden plank and leave to dry for the stated time.
Cover if there is rain.
Concrete continues to cure over a period of about four weeks, but about one week in warm dry weather should be sufficient to build upon.
Creating the Brick Pillar Base
The base on which your pizza oven will sit takes the form of a cube.
There are many different ways of constructing this cube, you may want to consider using bricks in combination with breeze blocks or wooden sleepers (and you can create a recess inside the cube for storing wood) but here I will cover the most simple method, a solid brick cube.
Red clay bricks are common and can withstand high temperatures as they have already been fired, so are perfect for this project.
How Many Bricks are Needed to Create a Solid Cube?
We’re going to get a little mathematical here as it will depend on the size that you want your brick pillar base to be, and the dimensions of the bricks that you are using.
We are making a cube that is 0.7m so I will show you how to calculate the number of bricks needed for UK and US standard sizes.
You can change the formula depending on the size of the base you want, just substitute 0.7 for 1 (if you want a metre cubed base) or 0.5 (if you want half a metre cubed base) etc.
To begin with we need the volume of one brick in metres cubed.
UK standard red clay bricks are 215mm x 102.5mm x 65mm.
US standard red clay bricks are 203mm x 92mm x 57mm.
In construction there will be an additional 10mm added to each side for the mortar so to work out the total volume we add this in to the dimensions, convert to metres and then multiply for the volume.
UK = 0.225m x 0.1125m x 0.075m = 0.0018984375 volume in m³ (1 brick + mortar)
US = 0.213m x 0.102m x 0.067mm = 0.001455642 volume in m³ (1 brick + mortar)
Now we can work out the number of bricks needed using this formula 1/volume, where 1 is 1m³. As we are creating a 70cm (or 0.7m) cube with UK standard bricks, the formula is 0.7/0.0018984375 = 368.7 bricks.
You can use the above formula to adjust for your needs, changing the size of the cube required, or the brick volume, or both.
If you completed your concrete foundation and it has dried/cured for at least a week in dry warm weather, you can now build your brick cube in the middle to your desired size.
Mortar is similar to concrete in that it will continue to cure up to four weeks, however it should be solid enough within 48 hours (of dry warm weather) to complete the build.

Creating the Clay Dome
First make a dome to the required size out of wet sand (we are making one 0.5m in diameter so the finished clay dome will then come to the edge of the plinth).
Make sure it is evenly distributed, then cover in newspaper to keep it damp.
Mix the clay to the correct consistency described on the packet and build it up around the sand mould by making long rolled sections, winding it around the base of the sand mound and then smoothing it all together to entirely cover the sand in an even layer about 10cm thick.
This will be the first layer of two.
At this stage, lightly score the clay where you want your entrance to be and then make some more thick clay rolled sections.
Use these to create an entrance arch and stick this above your scored line.
Use a cardboard arch to support your clay one and cut the entrance hole out with a knife.
Also cut a hole just above the entrance and use rings of rolled clay to create a small chimney.
Let the oven sit for a couple of hours for these additions to set as the extra weight may cause the clay to buckle if the sand is removed too soon.
If the clay is stable you can now scoop the sand out and leave the dome to dry overnight.
The next day, to aid drying, light a small fire inside (remember to remove the cardboard arch support).
Now for the second layer.
This is a thinner layer created by mixing clay and water to a thick cream like consistency (known as a “slip”).
Now mix in the bag of vermiculite, this will act as an insulator.
Leave for a few minutes as the vermiculite will absorb some of the water and change the mix to a paste.
This can then be applied to the dome all over in a layer approximately 10 cm thick.
Smooth the outside and also build up the chimney again if required. It needs to be at least 5cm raised.
Once this layer is applied, leave the oven for a few days to completely dry.
Once this is complete and you have cleaned the inside, you are ready to use your pizza oven!
Tips for Cooking Pizzas in a Wood Fired Oven
- Start the fire a couple of hours before you start cooking to get the temperature up.
- Use a good quality dry hardwood (not pine or anything with a high sap content).
- You want a nice clean flame and white-hot embers.
- Move the fire to the side or rear of the oven to make room for the pizza.
- Keep your pizzas reasonably small and don’t overload the toppings. You don’t want sauce or cheese all over the oven floor as this will burn.
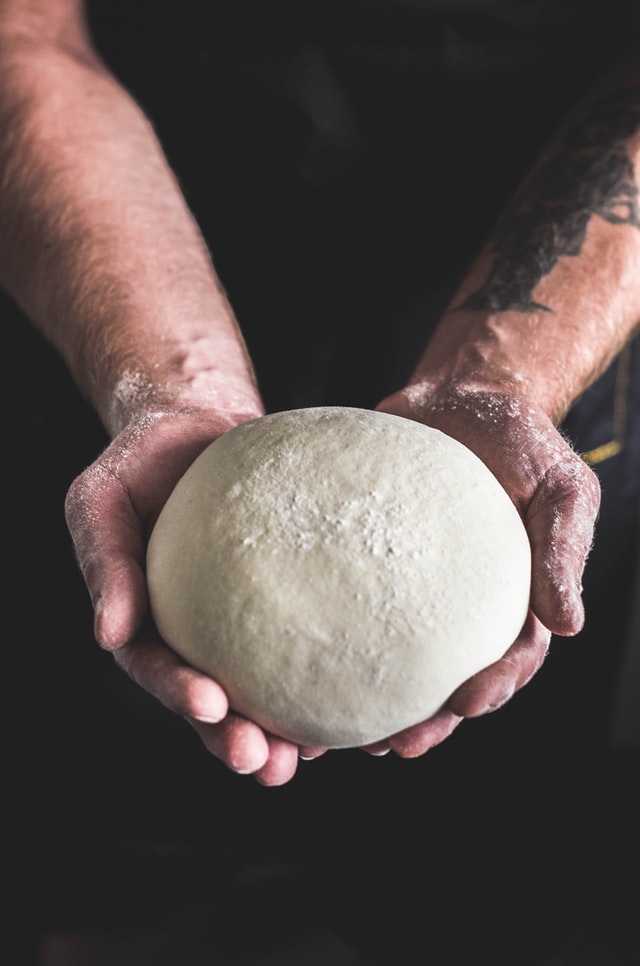
- Remember to flour the base of your pizza on the paddle so it doesn’t stick to the brick floor of the oven.
- Just do one pizza at a time, they will be ready in a few minutes.
- Keep an eye on your pizza and turn every 20 seconds or so for an even result as the heat source will just be from one direction.
- Keep the temperature up by adding more wood as you go. It is best to prepare all your pizza dough, sauces and toppings beforehand and have a production line going to maximise the pizza oven while it is hot.
- Why not add some homegrown basil from the garden for a classic margherita pizza?
Final Thoughts
There is a reasonable amount of work involved in making your own wood fired pizza oven but you don’t need any construction experience and boy is it worth it!
The materials needed are not expensive and can be sourced gradually.
Get some friends round to help and you have a brilliant project with homemade pizzas at the end, what could be better?
Another option for warmth, light and food in your garden can be a fire pit. Check out this article for our favourite options available to buy on Etsy.com.