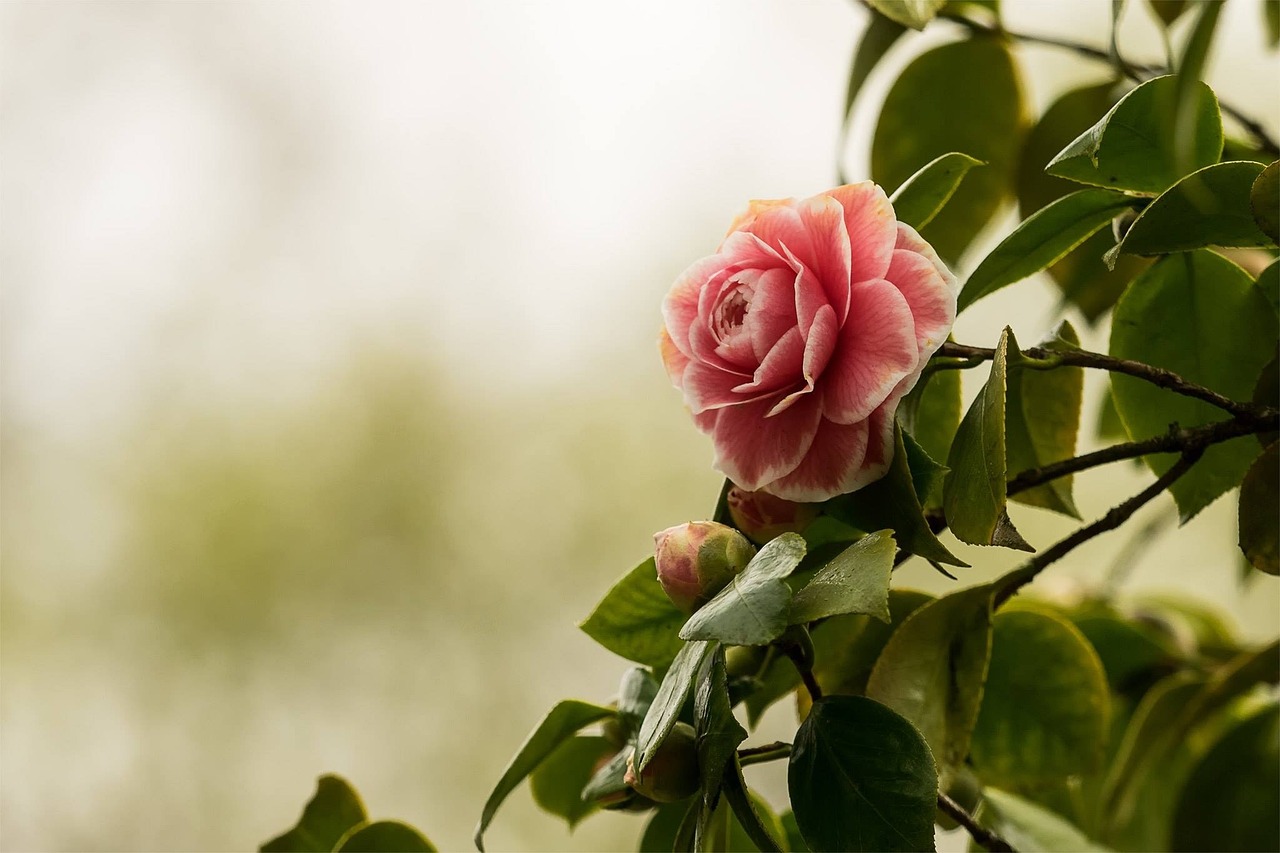
Camellia plants are beautiful glossy evergreen shrubs with large blowsy flowers in winter and early spring.
At a time when much of the garden is still asleep, Camellias provide wonderful coverage and colour.
They can sometimes struggle when growing conditions are not right for them.
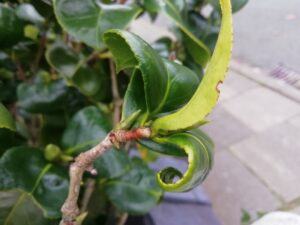
An early sign can be the curling of leaves.
So if you have asked the question “Why Are My Camellia Leaves Curling?” then read on for answers and solutions.
Camellia leaves curl mainly due to lack of water. This can be caused by frost damage or sun scorch. If the roots do not have enough space or are waterlogged, this can also interfere with water absorption again causing leaf curl. Pests such as aphids and scale can feed on the underside of foliage causing the leaf to curl downwards.
Frost Damage
Although Camellias are reasonably hardy and able to withstand low temperatures, they can still be affected by cold and frosty winds that strip the moisture from the leaves.
If the ground freezes they can struggle to draw up water to rehydrate these leaves.
This can then cause leaf curl.
How to fix:
- When planting a Camellia, choose a sheltered spot.
- Mulch around the plant before winter.
- This will insulate the soil and provide some moisture retention, allowing the plant to access water when temperatures drop below freezing.
- Leave a space immediately around the trunk for aeration.
- If your Camellia is in a pot you can transfer it to a greenhouse to protect it.
- If your Camellia is in windy spot, consider adding a windbreak to protect the plant from strong cold winds.
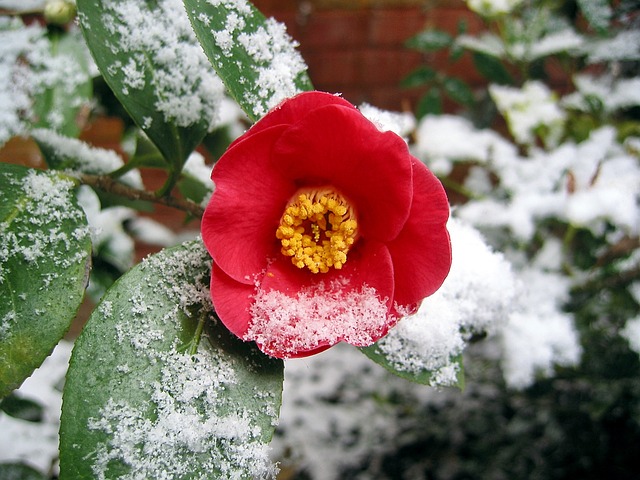
Sun Scorch
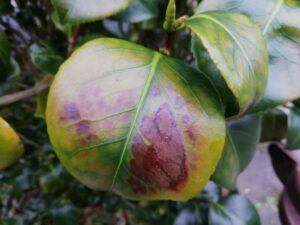
In particularly hot and dry weather Camellias can be affected by sun scorch or sun scald.
This is where the prolonged heat of the sun burns the foliage causing brown, yellow and curling leaves.
This can especially affect young plants or recently transplanted plants.
How to fix:
- When planting a Camellia, choose a location with dappled shade rather than full sun.
- Consider moving Camellias in exposed conditions.
- If you have a large established Camellia that cannot be moved, perhaps try to provide a little shade during the hottest parts of the day.
- This can be done by erecting a sheet or tarp over the top of the plant.
- Provide extra irrigation during hot and dry spells of weather.
- The affected leaves will likely not recover but with these steps taken, new ones will soon grow.
Limited Root Space
Camellias in pots or in the ground with limited space for roots can struggle to take up enough water.
Their root system is reasonably shallow and wide so it is important to make sure they have good access to moisture.
How to fix:
- If your Camellia is in a pot and the leaves are curling then remove from the pot to check the root system.
- If the roots are filling the pot or have wound around the pot then the plant is likely root bound.
- It is time to move to a bigger pot or better yet, plant in the ground.
- Plant in a location that has a good amount of space for roots to spread.
- Provide extra irrigation during hot summers.
- Mulch in the spring and in the autumn.
Too Much Or Too Little Water
As mentioned above, Camellias need access to moisture in the ground as their roots do not go very deep.
A very hot and dry environment will cause leaf curl.
This is also true of an overly wet environment – Camellias do not like water saturated soil.
This is because the roots become waterlogged with interferes with water absorption.
Waterlogged roots can also become susceptible to fungi such as Honey Fungus or Phytophthora root rot.
These fungi cause decay of the root system which affects the plant’s ability to take up enough water.
How to fix:
- When planting Camellias, choose a free draining slightly acidic ericaceous compost.
- Provide extra irrigation in hot and dry conditions.
- Mulch in the spring and in the autumn.
- Do not plant in an overly wet or boggy area.
- Keep an eye on Camellias in pots, check the moisture of the soil regularly.
- If roots do become waterlogged and show signs of decay, uproot the plant as soon as possible, thoroughly wash the roots and replant in an area with better drainage.
Pests – Aphids or Cottony Camellia Scale
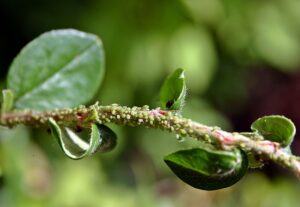
Another cause of moisture loss in Camellia foliage is pests such as aphids or scale insects feeding on the leaves and sucking the sap out.
In the case of aphids this tends to happen on new leaf and bud growth.
Cottony Camellia Scale insects group together on the underside of leaves and look like small pale brown bumps covered in a white waxy residue.
Both can produce a sticky honeydew by product which can attract black sooty mould.
How to fix:
- Aphids can be removed by wiping them off with a cloth soaked in a mild dish soap solution.
- Scale insects are a little harder to shift as they clamp down on to the plant and are protected by their shell.
- You can try applying Neem oil as directed on the bottle, also rubbing alcohol applied to the scale insect on a cotton bud causes the insect to release it’s grip on the plant, allowing it to be removed.
Natural Leaf Shedding
Finally it should be remembered that although Camellias are evergreen, they do go through a cycle of leaf renewal.
This means that as new leaves are grown, older leaves will be shed.
The older leaves will stop receiving moisture, curl, turn brown and fall.
If you are seeing this on the lower, larger foliage – and only a small percentage of leaves are affected, then this is entirely natural and nothing to worry about.
If a large percentage of leaves are affected then it could be another reason so review the info above and hopefully you can address it.
Final Thoughts
Camellias are beautiful shrubs and will provide colour in your garden when most other plants are dormant.
They are reasonably hardy and able to recover well, perfect for beginner gardeners.
Provided you can catch issues such as those mentioned above early enough, you can fix the issue and minimise leaf curl.

