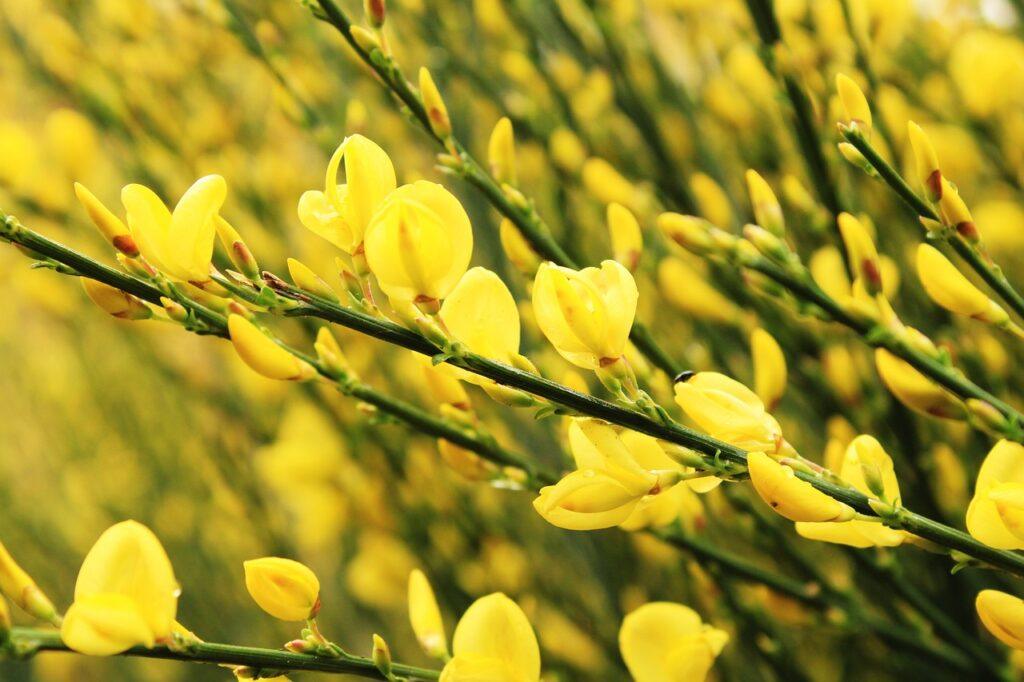
Broom plants are interesting and attractive additions to the garden.
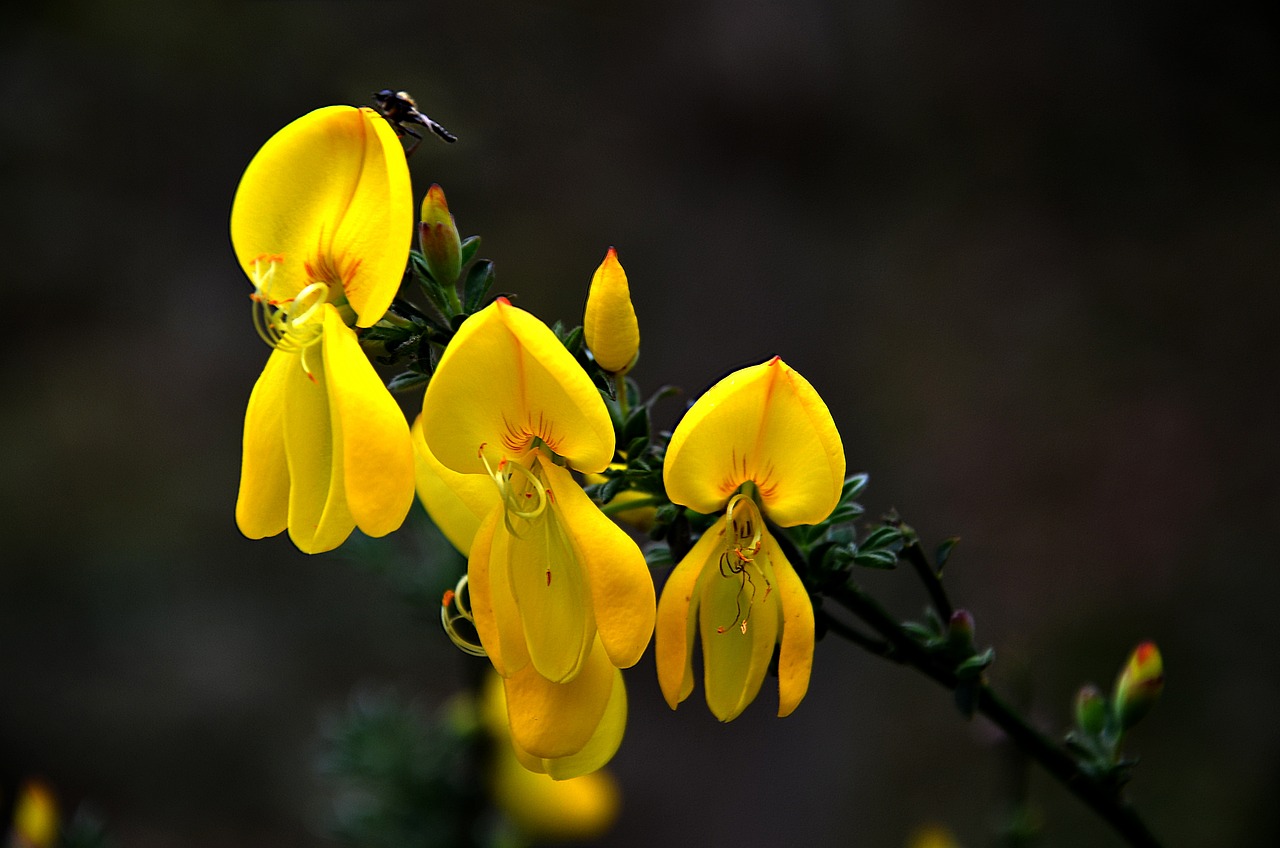
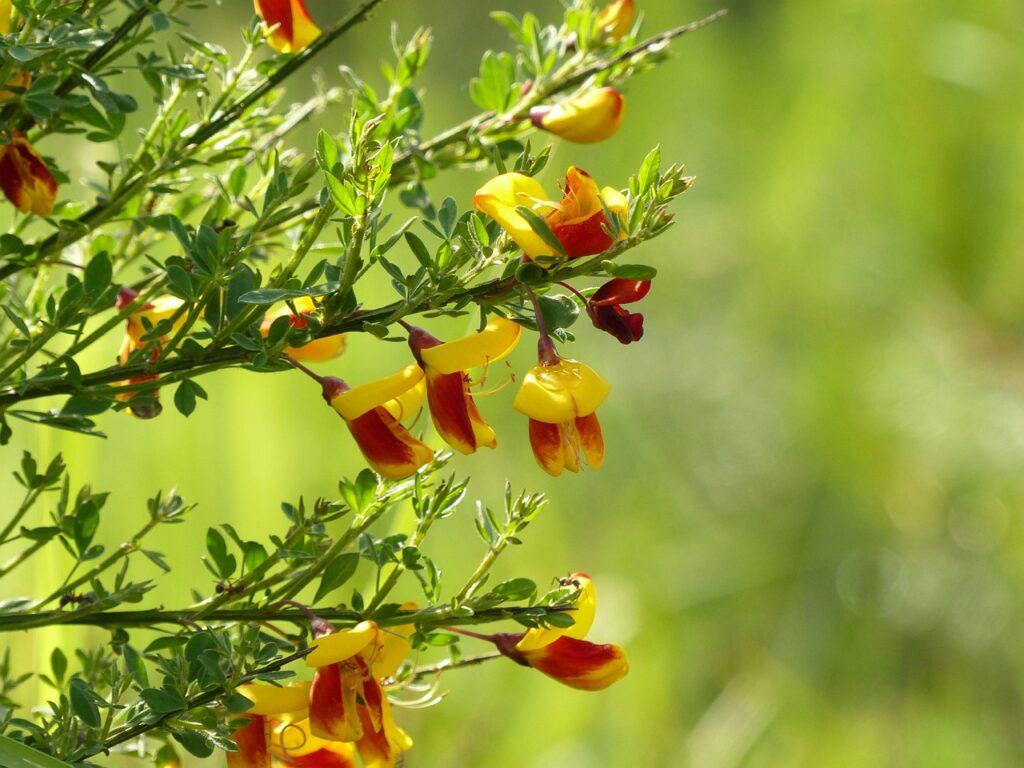
The flowers can be a mix of yellow, red, pink and orange.
One thing to note is that they are toxic to humans and pets.
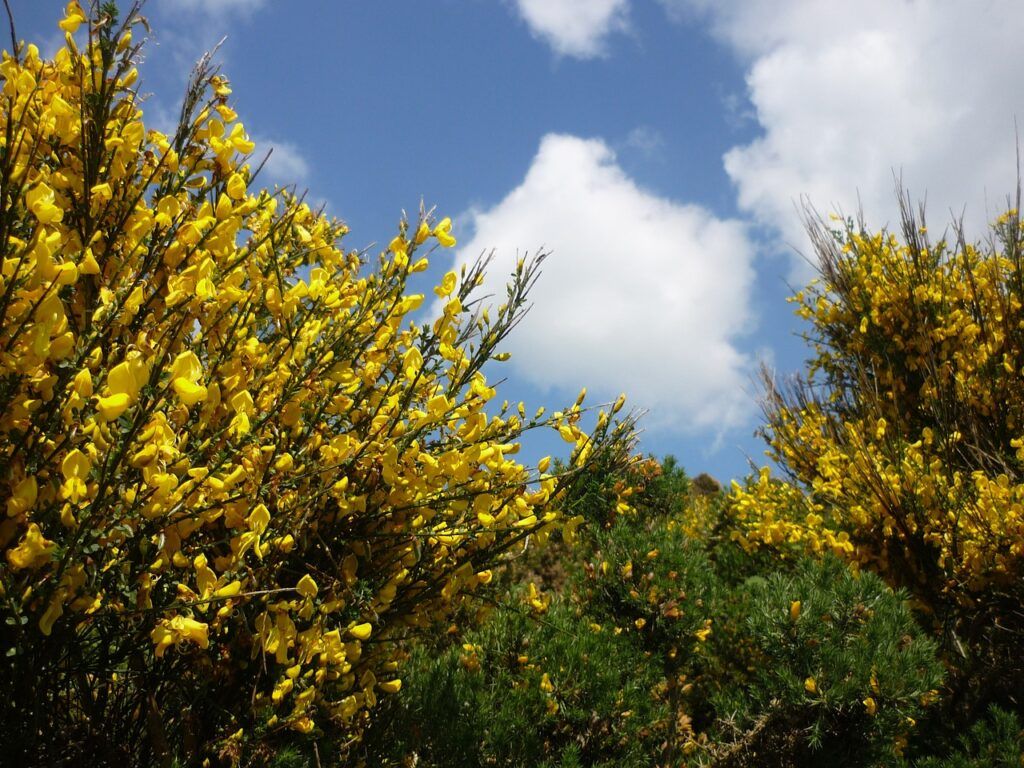
In the right conditions they grow at a fast rate.
If they are situated incorrectly however, they can decline and perish.
So if you have asked the question “Why Is My Broom Plant Dying?” then read on for answers and solutions.
2. Too Cold / Frost
3. Too Much Water / Poor Drainage
4. Root Bound In A Pot
5. Transplantation Stress
6. Pests: Slugs And Snails
7. Short Natural Lifespan
Insufficient Sunlight
Broom plants love sunshine and do best in full sun, though they will tolerate dappled shade.
Both varieties grow on moorlands in nature and so like open areas and lots of light.
Ideally six hours of full sun as a minimum is best.
How to fix:
- When planting a new Broom plant, choose a sunny spot.
- If you have an existing Broom in a shady location and it is still quite small, it may be possible to move it if done carefully however they do not like their roots disturbed (see below section on Transplantation Stress) so this can be risky.
- Alternatively, perhaps try to increase the light available to the Broom in it’s existing location by pruning overhanging trees or moving existing structures like clotheslines and arbours.
Too Cold / Frost
Mature Broom plants are fairly hardy however younger plants can be damaged by a severe frost.
The branch tips may look black and feel brittle or hollow.
How to fix:
- If a frost has been forecast, consider wrapping your Broom with fleece or sacking to protect it.
- If your Broom has been affected, leave until the spring.
- Once the weather is warmer and drier, prune off the dead sections and wait to see if it recovers.
- If larger areas have been affected, try scraping off the bark to see if there is green living tissue.
- If there is, the plant will likely put out new growth.
Too Much Water / Poor Drainage
The mature Broom plant is very drought tolerant when established and does not need to be watered except in very hot and dry conditions.
This is because the root system is extensive, traveling both widely and deeply, so it is very adept at finding water.
Young or recently moved Brooms will need regular extra water initially, just to help them become established.
If your soil is prone to becoming waterlogged or your Broom is situated in an area that collects a lot of water, it could cause problems for the roots.
Too much water can lead to decomposition of the roots and the growth of fungus.
Signs of this will be poor growth, wilting foliage and die back of branches.
How to fix:
- Established Broom plants will not need extra water unless the climate/weather is very hot and dry.
- Young Broom plants will need regular watering for the first 24 months, just to help them get established.
- Recently moved Broom plants will need regular water for the first 6 months so they can re-establish their root system.
- In both cases this should only bring the soil to moist, not wet, and may not be needed at all if there is sufficient rainfall.
- Broom plants actually prefer poor soil with good drainage.
- They will do well in sandy or rocky areas.
- Brooms prefer slightly acidic soils, especially the Cytisus variety.
- The Genista variety will tolerate slightly alkaline soils, so check the label when you are purchasing a new plant.
- When planting a new Broom plant, make sure the soil is free draining.
- If your soil is quite dense and prone to water saturation, work in some grit or sand to improve drainage.
- There is no need to fertilise your Broom, they can get all of their nutrients from the soil.
Root Bound In A Pot
The root system of a Broom plant is large – both wide and deep.
For this reason they can quickly become root bound if left in a pot.
They are better off in the ground and not really suited to container growing.
Click here to see plants that can be grown successfully in containers.
How to plant your Broom:
- If your Broom plant is in a pot and is starting to look a bit devitalised, take it out of the pot gently and check the roots.
- If the root system is large and fills most of the pot, or the roots have started to wind around the outside of the pot, then the plant has outgrown the container and it is time to plant it outside.
- Choose a spot that is sunny with good drainage.
- Remember it will grow quite large so make sure the Broom has decent space around it.
- Broom plants don’t mind slopes or wind, so they are great plants to use in awkward locations.
- They can also be used for erosion control.
- They also make a good windbreak for flowers and shrubs that don’t like to be exposed.
- Prepare the hole and gently tease away some of the roots from the outside of the root ball.
- This will encourage growth.
- Plant in the ground and make sure the top of the root ball is level with the soil.
- Water in well and keep providing regular water for about 6 months while it gets established, but only so that the soil is moist, not wet.
Transplantation Stress
Because of the extensive root system, moving Brooms that are established can be risky.
This is because it will cause considerable damage to the roots, and the plant therefore goes into shock.
The plant will look wilted and devitalised, and may die.
It is best to move a Broom plant while it is still small, but if it is absolutely necessary to move a medium to large Broom, follow the steps below to maximise the chances of survival.
How to move a Broom plant:
- The best time to move a Broom plant is early autumn, when the soil is still warm.
- This will give it the most time to get settled before the hot summer.
- Prepare the hole in advance so you can make the transfer straight away and minimise the time spent out of the ground.
- Move it in the early morning to retain the most internal moisture.
- You can cut back the plant by a third to a half, this again retains moisture and will mean the remaining roots have less work to do to hydrate the plant once replanted.
- When digging out the root ball, try to get as much of the root system and surrounding soil as possible.
- Once the root ball is free, slide it gently onto a tarp.
- Gather the tarp and carry it to the prepared hole.
- Carefully lower the Broom in and make sure all roots are below the trunk.
- Gently fill in with soil and keep well watered for the next 6 months, but only so the soil is moist, not wet.
Pests: Slugs And Snails
Although Broom plants seem fairly woody, they still seem to be very popular with slugs and snails, who will strip the flowers and green foliage.
Older plants should not be affected too much but younger plants can struggle if large amounts of foliage are eaten.
How to fix:
- There are many snail and slug remedies out there but the most effective and most ecologically sound method will always be going into the garden at night with a torch and gloves and picking them all off.
- Coffee grounds or broken eggshells spread around the soil can deter them.
- Encourage natural predators like birds and frogs.
Short Natural Lifespan
Broom plants are relatively short-lived and only grow for 10-15 years.
In their natural environment they will set seed and grow on in the next generation.
If you have a well established Broom plant that is turning quite woody and not producing many flowers, and it is not any of the reasons above, it may be that it has come to a natural end.
There is not much that can be done for your old plant unfortunately however the good news is that Broom plants are easy to obtain seeds from and also to propagate.
How To Plant Broom Seeds:
- Collect the pods in later summer.
- Seeds can be planted straight away in a tray with moist free draining soil, or keep until the spring and plant then.
- Give them lots of light.
- Try not to mess about with the roots too much – as we have seen above, Brooms no not like root disturbance.
- For this reason plant into their final destination as soon as they look strong.

How To Propagate Broom Cuttings:
- In late summer take cuttings of semi-woody growth that has no flowers below a leaf node, about 10cm long.
- Place these in moist, well draining potting material.
- Add a clear lid and keep moist until spring.
- Again don’t disturb the roots if you can help it, and plant in their final location as soon as they look strong.
Final Thoughts
Broom plants are very forgiving and need minimal care and attention once established.
They are great plants for awkward sloping or windy spots, as long as there is plenty of sun and drainage.
The Cytisus variety is native to the UK and grows wild where I live, while the Genista variety hails from Europe and Asia.
They are large but delicate structures with multiple stems and small leaves.
If you are having any issues with your Broom plant that has not been covered above, drop me a message and I will do my best to help.
Hi, my gorgeous yellow broom has turned black and all leaves have fallen off leaving bare branches. It’s never done this before, is it salvageable? Thanks
Dear Suzanne,
I am sorry to hear that, I’m afraid that mine has done the same after the week or so of freezing temperatures that we had.
What I have done is checked that the main branches are still alive by scraping off a tiny section of bark. If the wood underneath is green then the plant should recover in the spring. On my broom, the smaller ends of the branches don’t look too good and I feel they may have perished, but the main stem and the larger branches look ok. I’m not going to prune now as it is too wet, but come the spring when the weather is drier I will snip off the dead parts with sterilised shears, and hopefully this will tidy the plant up and encourage new growth.
I hope this helps!
All the best,
Sue X